
Skip the overwhelm. Here’s how to actually start without buying a drawer full of gadgets you’ll never use.
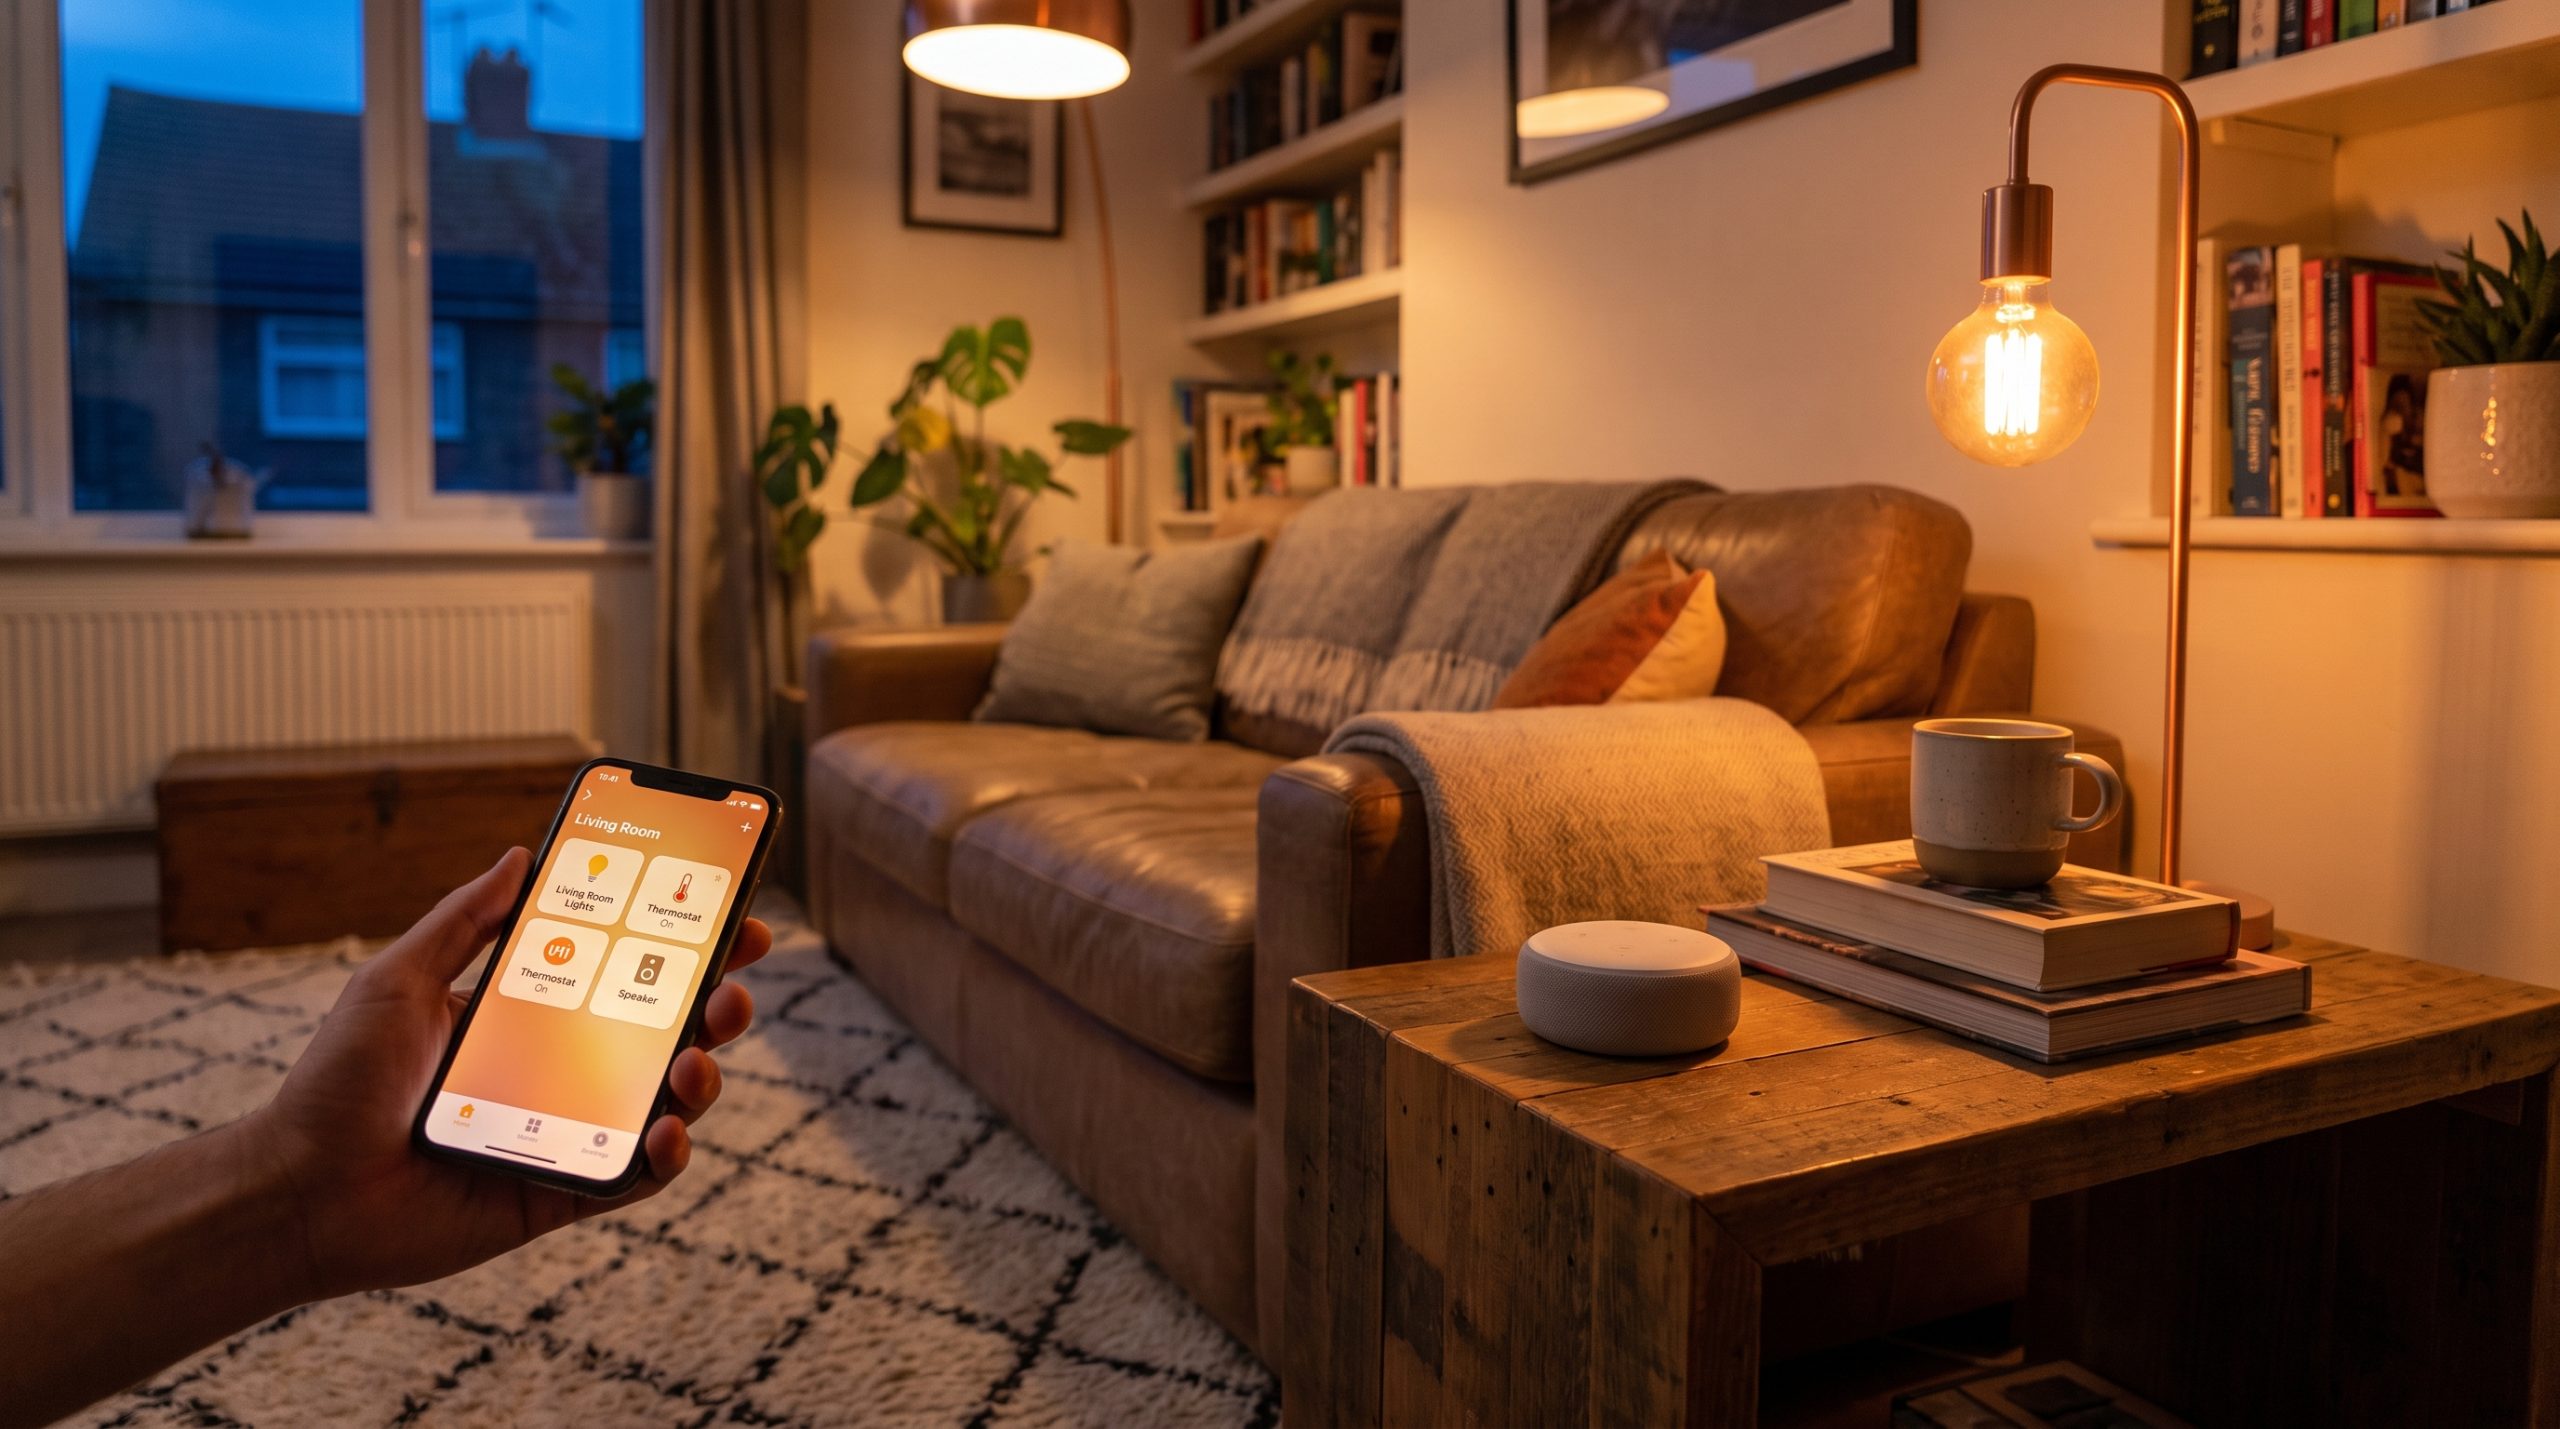
I started my smart home journey by buying a smart lock, smart light bulbs, smart light switch, smart led strip, and a smart plug all at once.
Here’s how that went: the lock never synced right with the hub. Two of the three bulbs weren’t compatible with the app I ended up using. And the whole box of stuff sat half-set-up on my kitchen counter for about six weeks while I “figured it out.” I didn’t figure it out. I just got tired of tripping over the box.
If you’ve been eyeing smart home gear but the sheer number of options makes you want to close the tab, I get it. The fix isn’t more research. It’s doing less, in one room, and actually finishing it.
Why One Room Beats a Whole-House Overhaul
The temptation is real: you watch one YouTube video about automated lighting and suddenly you’re adding six things to your Amazon cart for every room in the house. Don’t do it. Not yet, anyway.
Starting in one room means you spend less money finding out what you actually like. It also means your learning curve is contained to a handful of devices instead of twenty, so when something doesn’t sync right (and something usually doesn’t, the first time), you’re troubleshooting one bulb, not a whole house of them.
Most of the “smart home graveyard” stories you hear — the box of unused gadgets in the closet — start with someone buying too much before they knew what they needed. One room first fixes that.
Once your one room works the way you want, expanding to a second room takes a fraction of the time, because you already know your ecosystem, your app, and your habits.
Picking Your Room
Not every room is equally easy to start with. Here’s how I’d rank the usual suspects for a first smart room:
- Living room (best pick for most people): You spend a lot of time in it, so you’ll actually notice the automations working, and there’s usually a lamp or two that’s easy to swap to a smart bulb.
- Bedroom: A close second. Great for testing things like “lights fade on with an alarm” or “lamp turns off with a voice command instead of getting out of bed.”
- Kitchen: Doable, but a bit trickier if your kitchen relies on hardwired ceiling fixtures instead of lamps, since those need a smart switch instead of a smart bulb.
My advice: pick whichever room you’re already sitting in most evenings. You want to feel the payoff quickly, and that’s what keeps you going.
Choosing an Ecosystem (Google, Alexa, or Apple)
You don’t need to become an expert in “ecosystems” to do this. You just need to pick one and stick with it, because devices from your chosen ecosystem talk to each other far more reliably than a mix-and-match setup.
| Best For | Cost | Device Compatibility | |
|---|---|---|---|
| Amazon Alexa | Widest device support, frequent sales | Good | Best |
| Google Home | Natural voice conversations, Android users | Good | Good |
| Apple HomeKit | All-Apple households, privacy focus | Higher | Smaller |
If you’re not sure, Alexa is the easiest on-ramp simply because more devices are built to work with it. If your whole household already lives on iPhones, HomeKit will feel more native, even though you’ll pay a bit more for compatible gear.
You don’t have to buy anything to try this out. All three ecosystems have free apps you can install today and start exploring before you spend a dollar on hardware.
Your Starter Device List
Here’s the entire shopping list for your one-room setup. Nothing here requires an electrician, and everything works with Alexa, Google Home, and (mostly) Apple HomeKit.
| Device | What It Does | Approx. Price |
|---|---|---|
| Wyze Bulb (White or Color) | Screws into any existing lamp or fixture — your first taste of “smart” | ~$15–20 |
| Kasa Smart Plug Mini | Makes any “dumb” device (a lamp, a fan, a coffee maker) app- and voice-controllable | ~$15–20 |
| Amazon Echo Dot (or Google Nest Mini) | Your voice hub — the thing you’ll actually talk to | ~$30–50 |
| Aqara Motion Sensor | Optional, but great for “lights turn on when I walk in” automations | ~$20–25 |
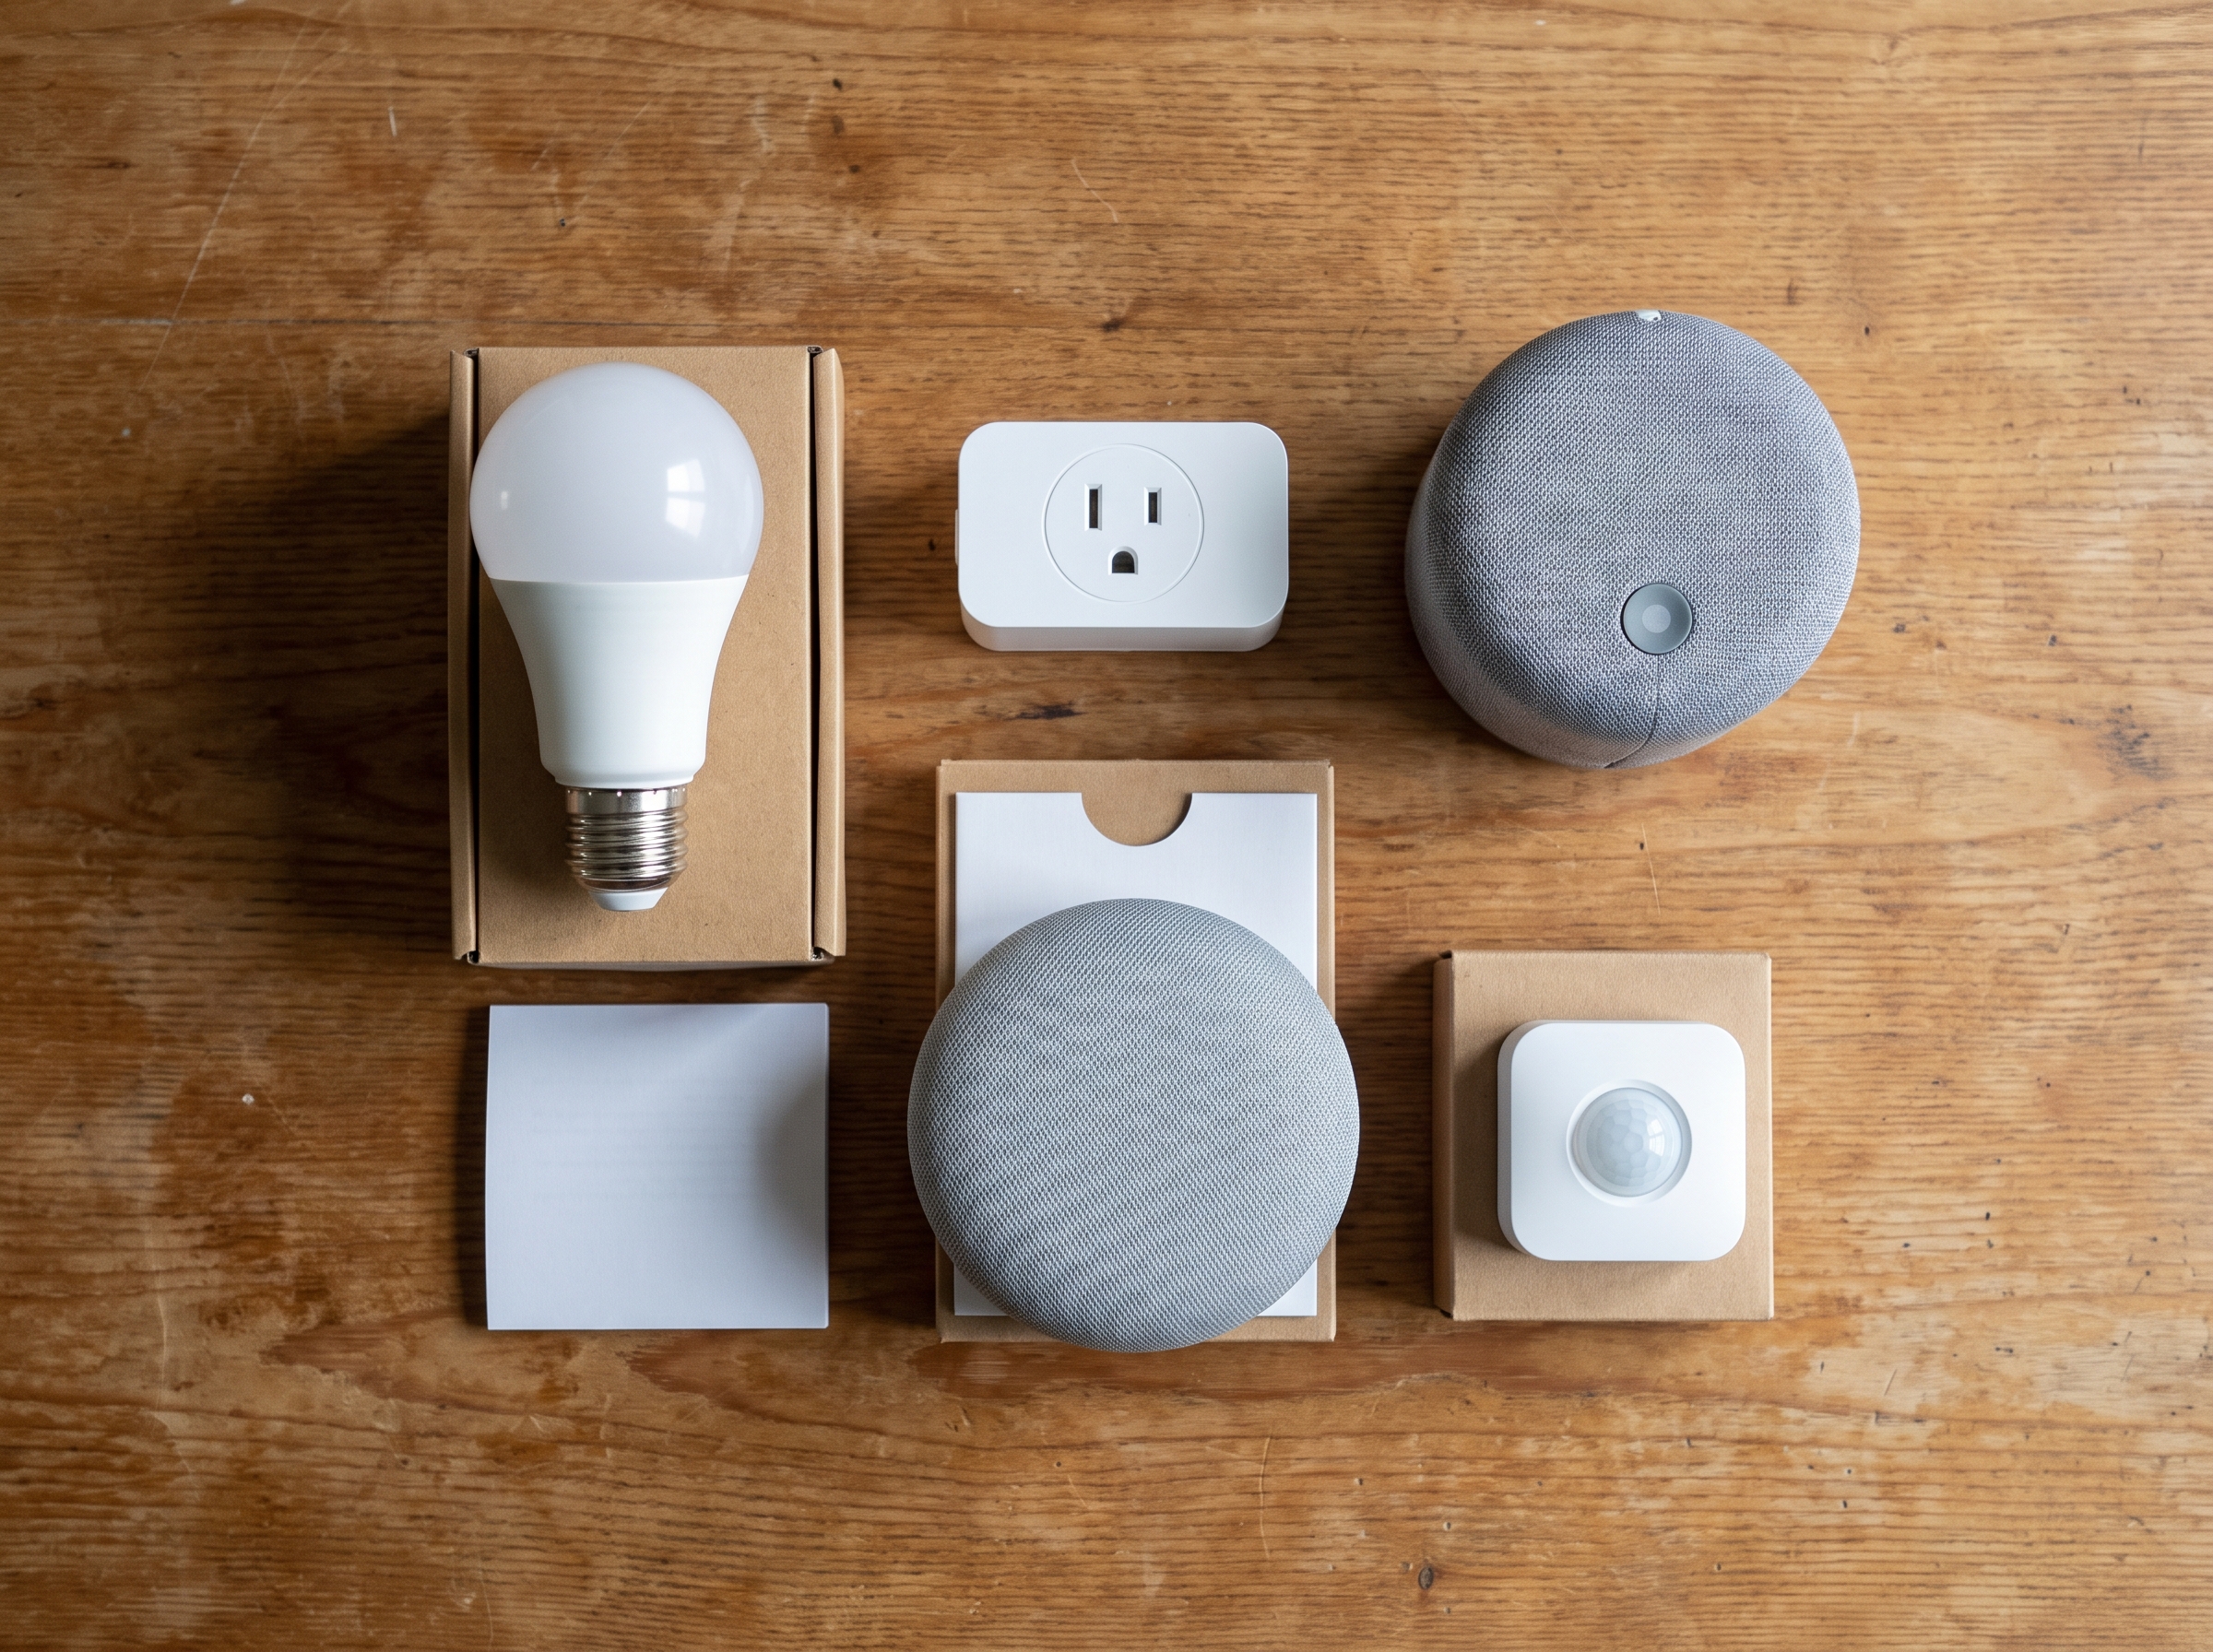
That’s it. You can do this whole thing for well under $100, and most of it is stuff you can return if you decide it’s not for you.
Setting Up Your First Automation
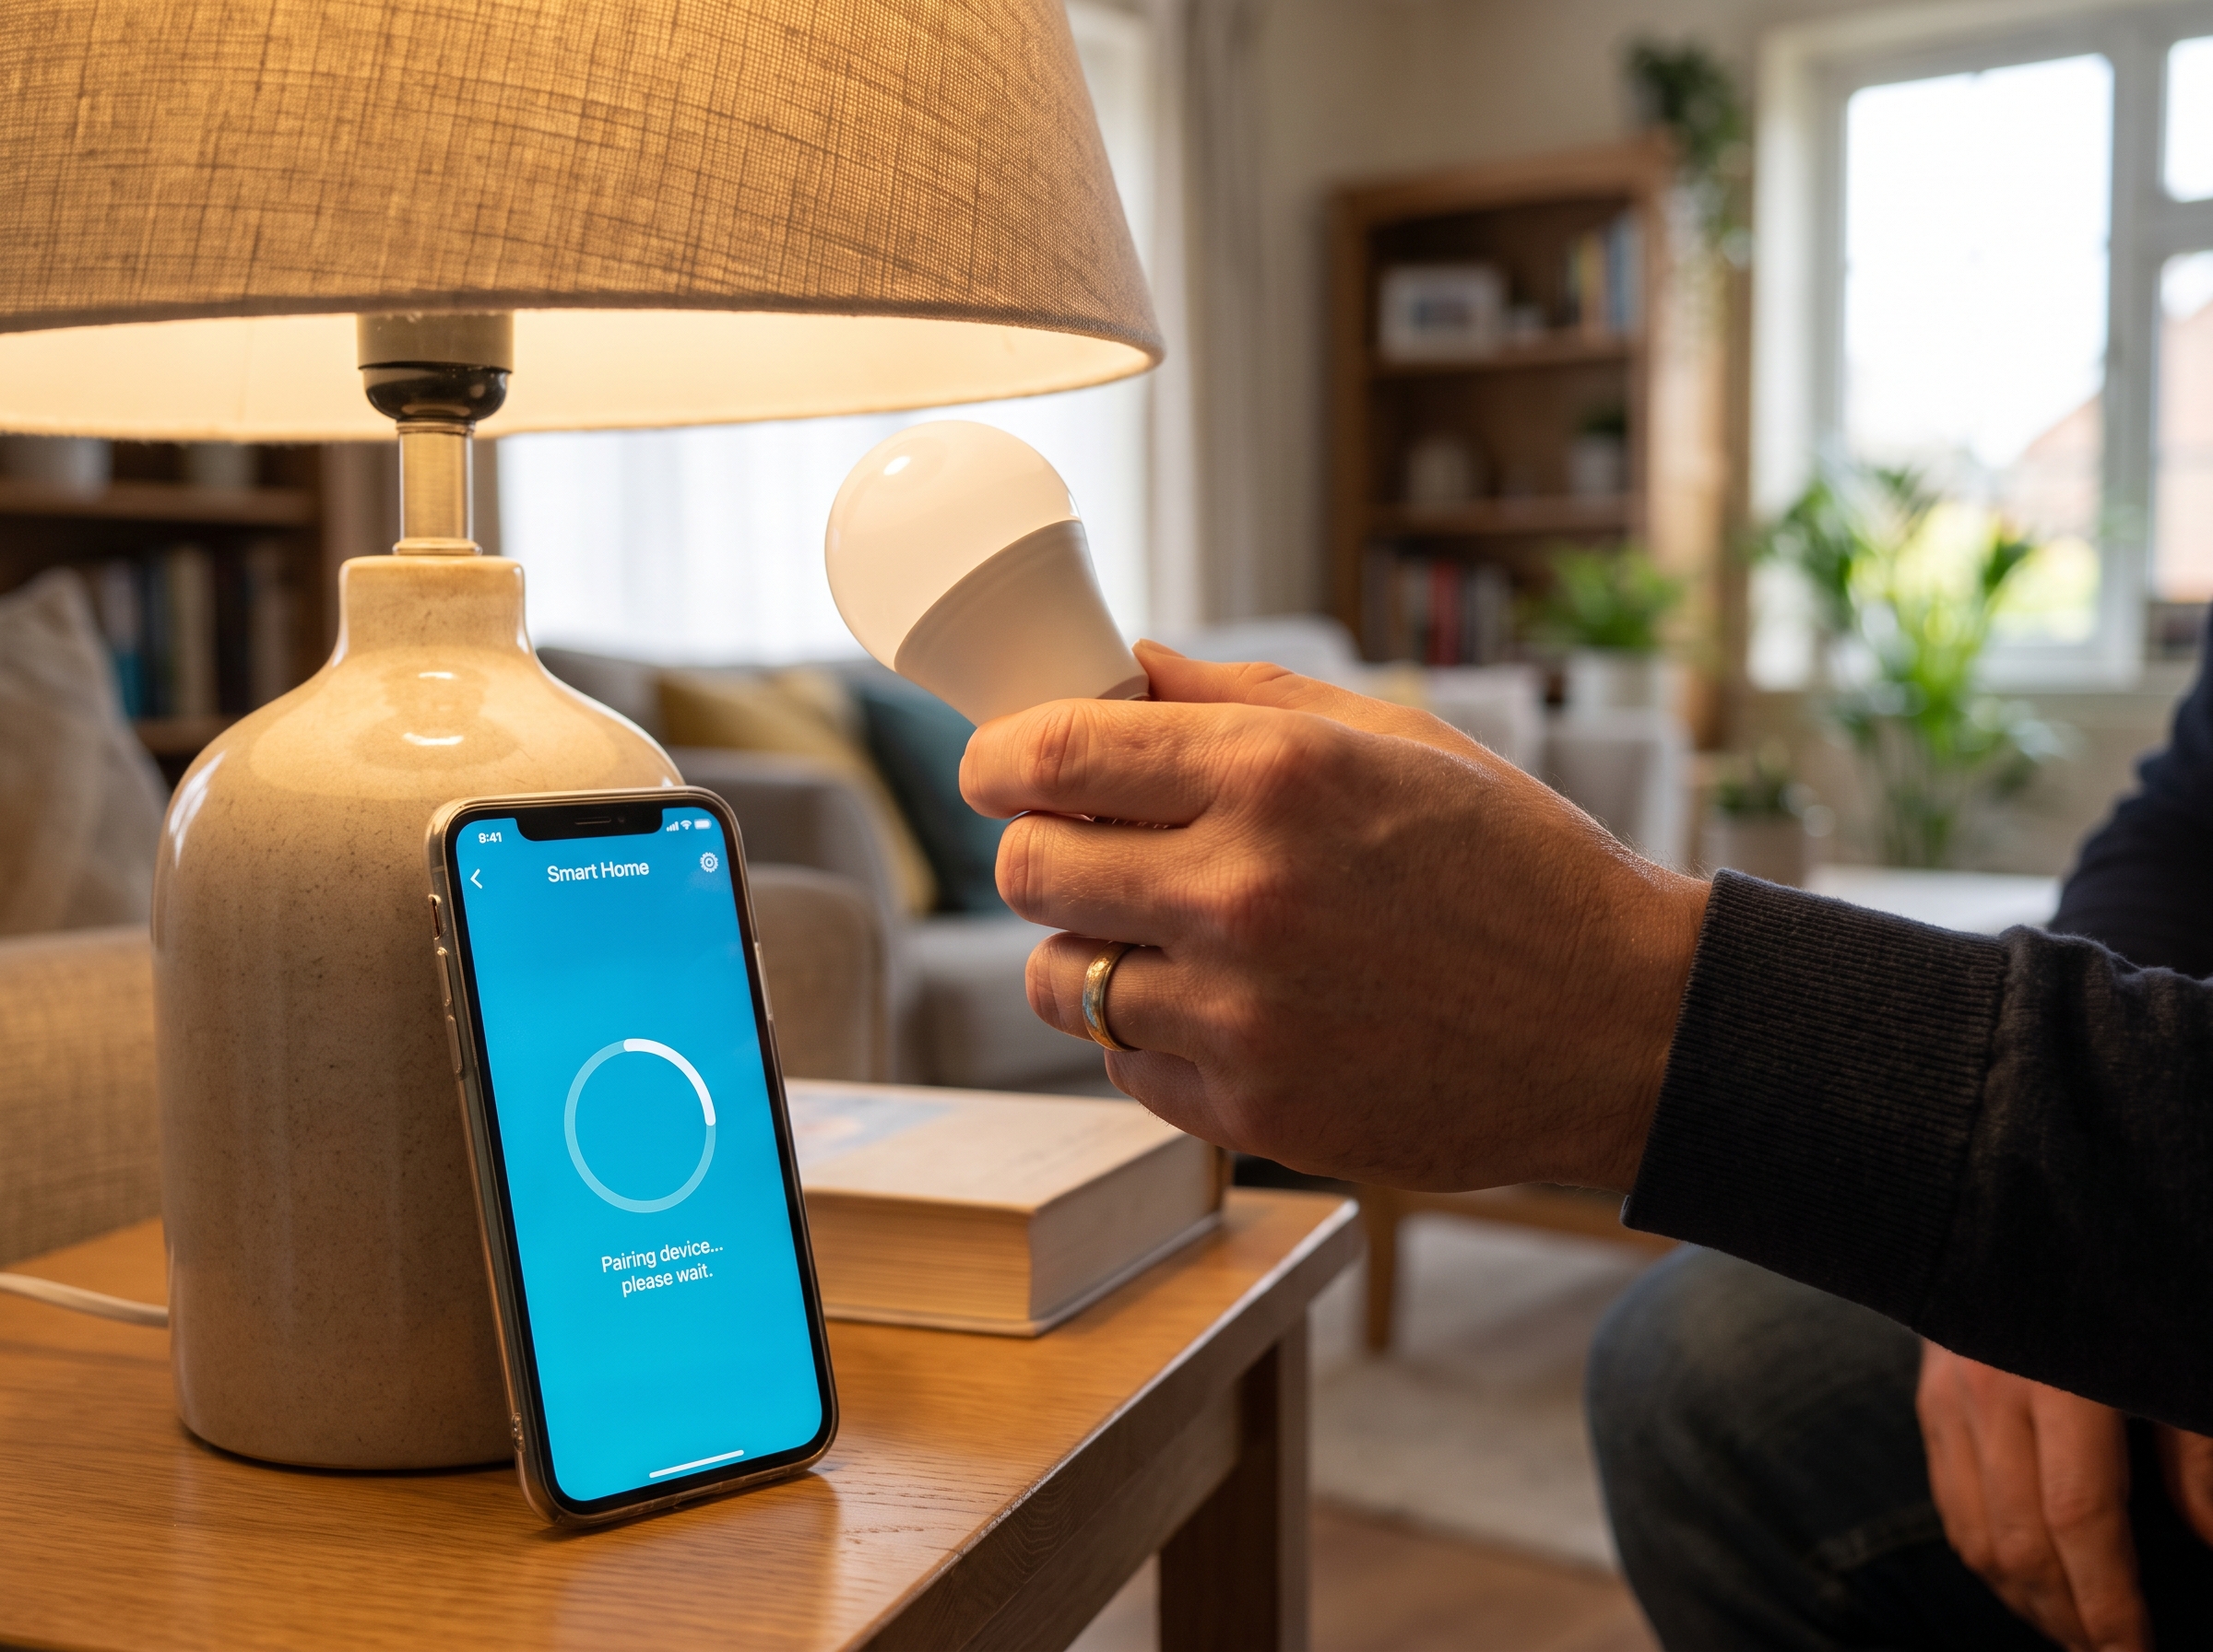
Once your devices are connected to the app, it’s time for the fun part: making something happen automatically. Let’s do the classic starter automation — lights that turn on at sunset.
- Open your ecosystem’s app (Alexa, Google Home, or Apple Home).
- Find the “Routines” or “Automations” section.
- Create a new routine and set the trigger to “At Sunset” (most apps calculate this automatically based on your location).
- Set the action to “Turn on” your smart bulb or plug.
- Save it, then just wait for sunset. When your light turns on by itself, that’s the moment this stops feeling like a gadget and starts feeling like your house is actually helping you.
From there, try one more: a motion-triggered light for when you walk into the room after dark. Two automations is plenty for week one.
Common Beginner Mistakes
- Buying across ecosystems before checking compatibility. A great device that doesn’t talk to your hub is just an expensive light bulb.
- Skipping the Wi-Fi check. Weak Wi-Fi in that one room is the most common reason a “broken” device is actually just disconnected.
- Over-buying on day one. You don’t need six devices to know if you like this. Start with two or three and expand once you’ve lived with them for a week.
Ready to build your starter kit?
Grab the Echo Dot, a Kasa plug, and a Wyze bulb, and you’ll have your first automation running tonight.
What’s Next
Once your one room is running the way you want, the natural next step is picking a second room and repeating the process — except this time you already know your ecosystem, your app, and roughly what you like, so it’ll take a fraction of the time.
If you’re ready to go deeper on the ecosystem decision or want to add a dedicated hub, check out our full guide to choosing a smart hub, or start from the very beginning with our Introduction to Smart Homes.